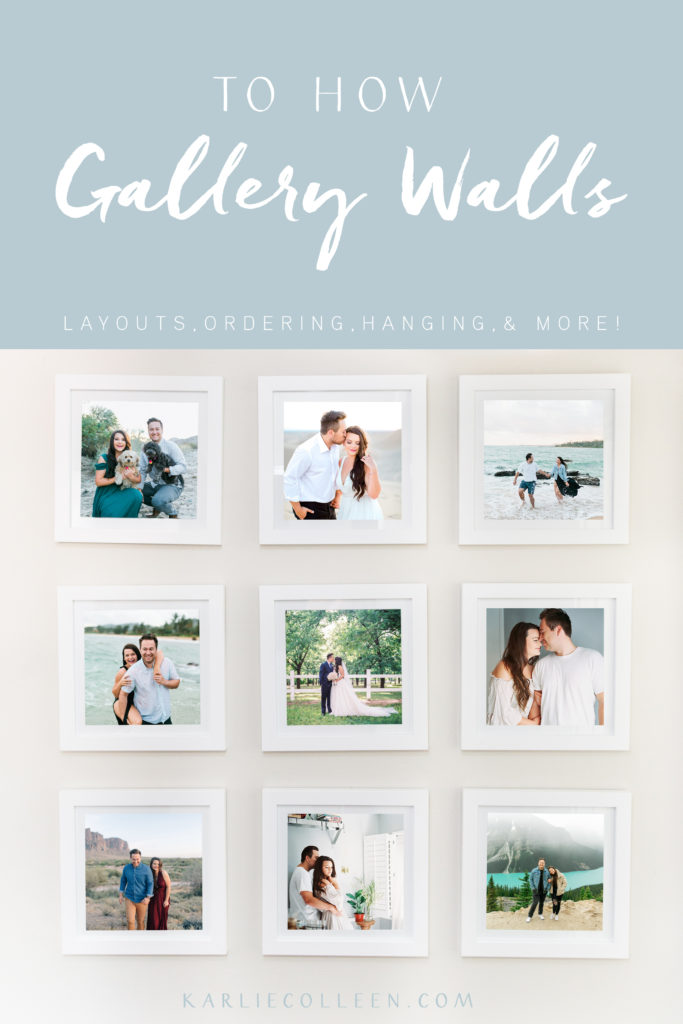
There are hundreds of ways to create your own gallery wall, and the steps on how to create one are pretty simple!
1.Pick the wall
2. Measure for sizing
3. Order frames to fit the wall measurements
4. Plan out photos and order them
5. Once all has arrived, hang them up!
Seems simple, but this weekend we finally hung our statement gallery wall and I ran into a few issues while doing it and I hope this information helps you while creating your own!
First, pick the wall that is large enough to hang several rows of frames. I have found for a gallery wall to be a true statement that catches the eye and also looks more high end design you need several rows and columns of frames.
Second, measure the wall so you can see how many frames would fit and what size frames you need to order. I am a super visual person so my favorite way to accomplish this it to measure out the frames I would want and tape that exact size to the wall. If you use painters tape and a tape measurer you can essential create a rough outline of the gallery wall so you can physically step back and look at what the finished product could look like. I usually let my tape outlines stay for a few days to a week to see how I feel about it over time before impulse buying occurs.

Third, you need to order your frames! This is where I got majorly stuck. Most people recommend using the Ikea 20×20 inch frames, but my wall wasn’t wide enough to do that size. The only other square frame that Ikea has is the 9×9 inch frame, which is too small for my size wall. SO, I was on a hunt for a SQUARE frame larger than 9×9 and smaller than 20×20. Which is actually really hard! Not many people carry a wide range of square frames and the few that do have the photo square way too small for the size frame. For example, they would have a 16×16 frame with a 6×6 photo?! Aka TINY photo with a huge matte. So, after lots of searching I found a site that lets you custom make your frames down to the exact size, color, and hanging material. I found Art To Frames online and after reading the reviews and honestly, not finding any other vendors online offering what I wanted, I went with them! I made my custom frames and they were super affordable compared to most framing stores.
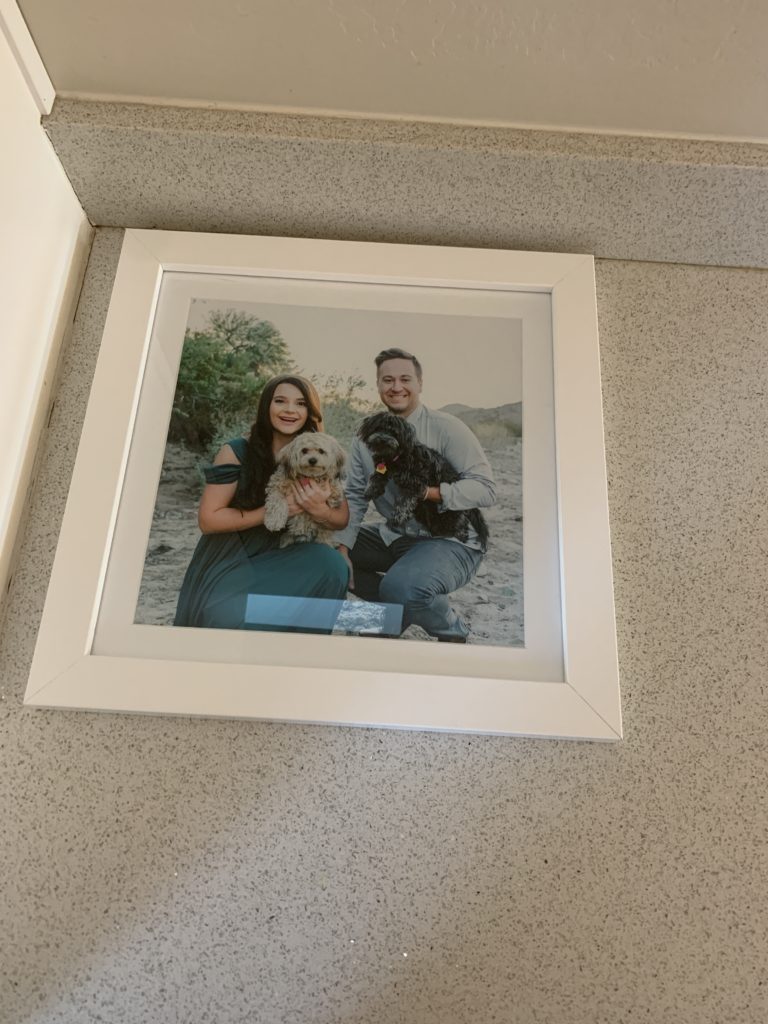
What I ordered:
14×14 white satin frames
1.25 in white matte
10×10 image cut out
Claw mouth hanging
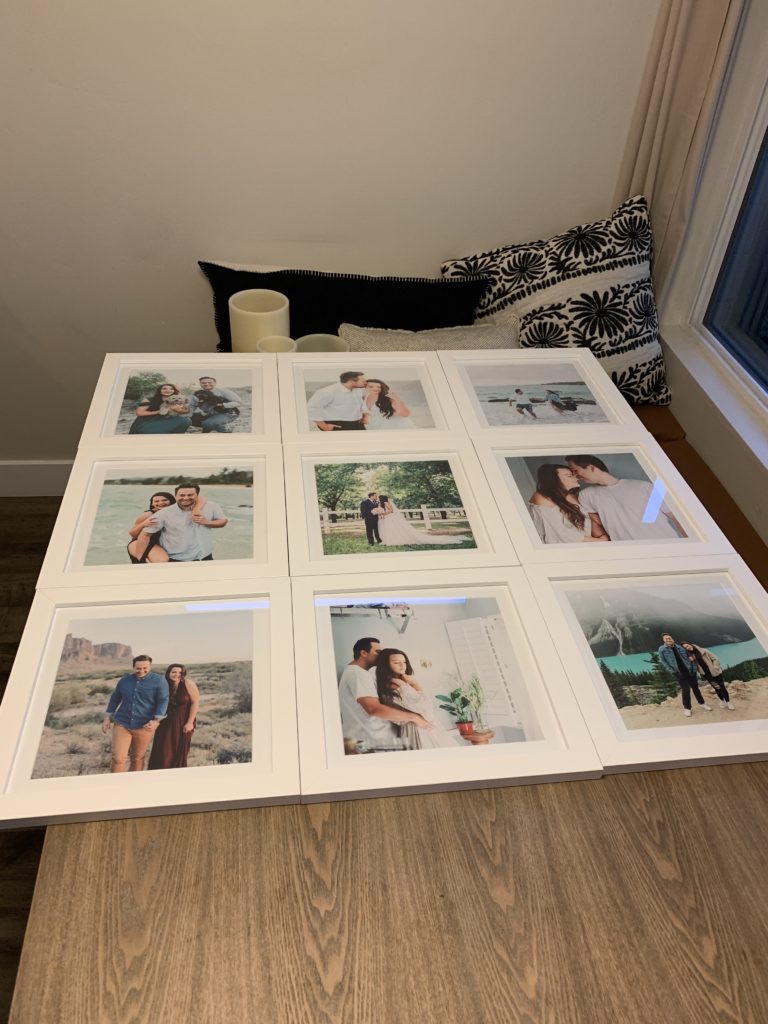
Fourth, you need to plan out your images! I sorted through hundreds of images for our gallery wall and placed them next to each other in Photoshop to see what looked good and what didn’t. This gallery wall is in our family room, where most of the colors are neutrals, whites, blues, and greens. So I sorted through to find the best 9 images that were special to us and also had the same color palette. This color matching tip is super important to have your gallery wall be cohesive and go with your space.
Fifth step, hanging the frames! I wont give any tips on hanging, as my brother so graciously did all the dirty work for me! (yay) But I do recommend watching some frame hanging youtube videos so that you get all of your images lined up well!
I hope all of these tips helped, and be sure to check out Art To Frames to custom design your frames! No, this is not sponsored by them, just really the only site I found with affordable square frames!
If you create your own gallery wall, send me a photo via Instagram @karliecolleen, I would love to see what you design!
xoxo,
Karlie

Comments will load here
Be the first to comment